Assignment 9: Wander
Due Friday, November 8, before midnight
The goals for this assignment are:
-
Configure an NPC character
-
Implement a wander behavior using a navigation mesh
1. Getting Started
It is not necessary to fetch from the upstream repository this week. Instead,
-
Create a new scene, called
A09_Path, and save it to yourHelloUnity/Assets/Scenesfolder.
Scene and Player Setup
In your scene:
-
Initialize your scene with the prefab containing your level from assignment 7.
-
Add your character prefab from assignment 7.
Feel free to reuse your scene from assignment 8.
2. Assignment Goals
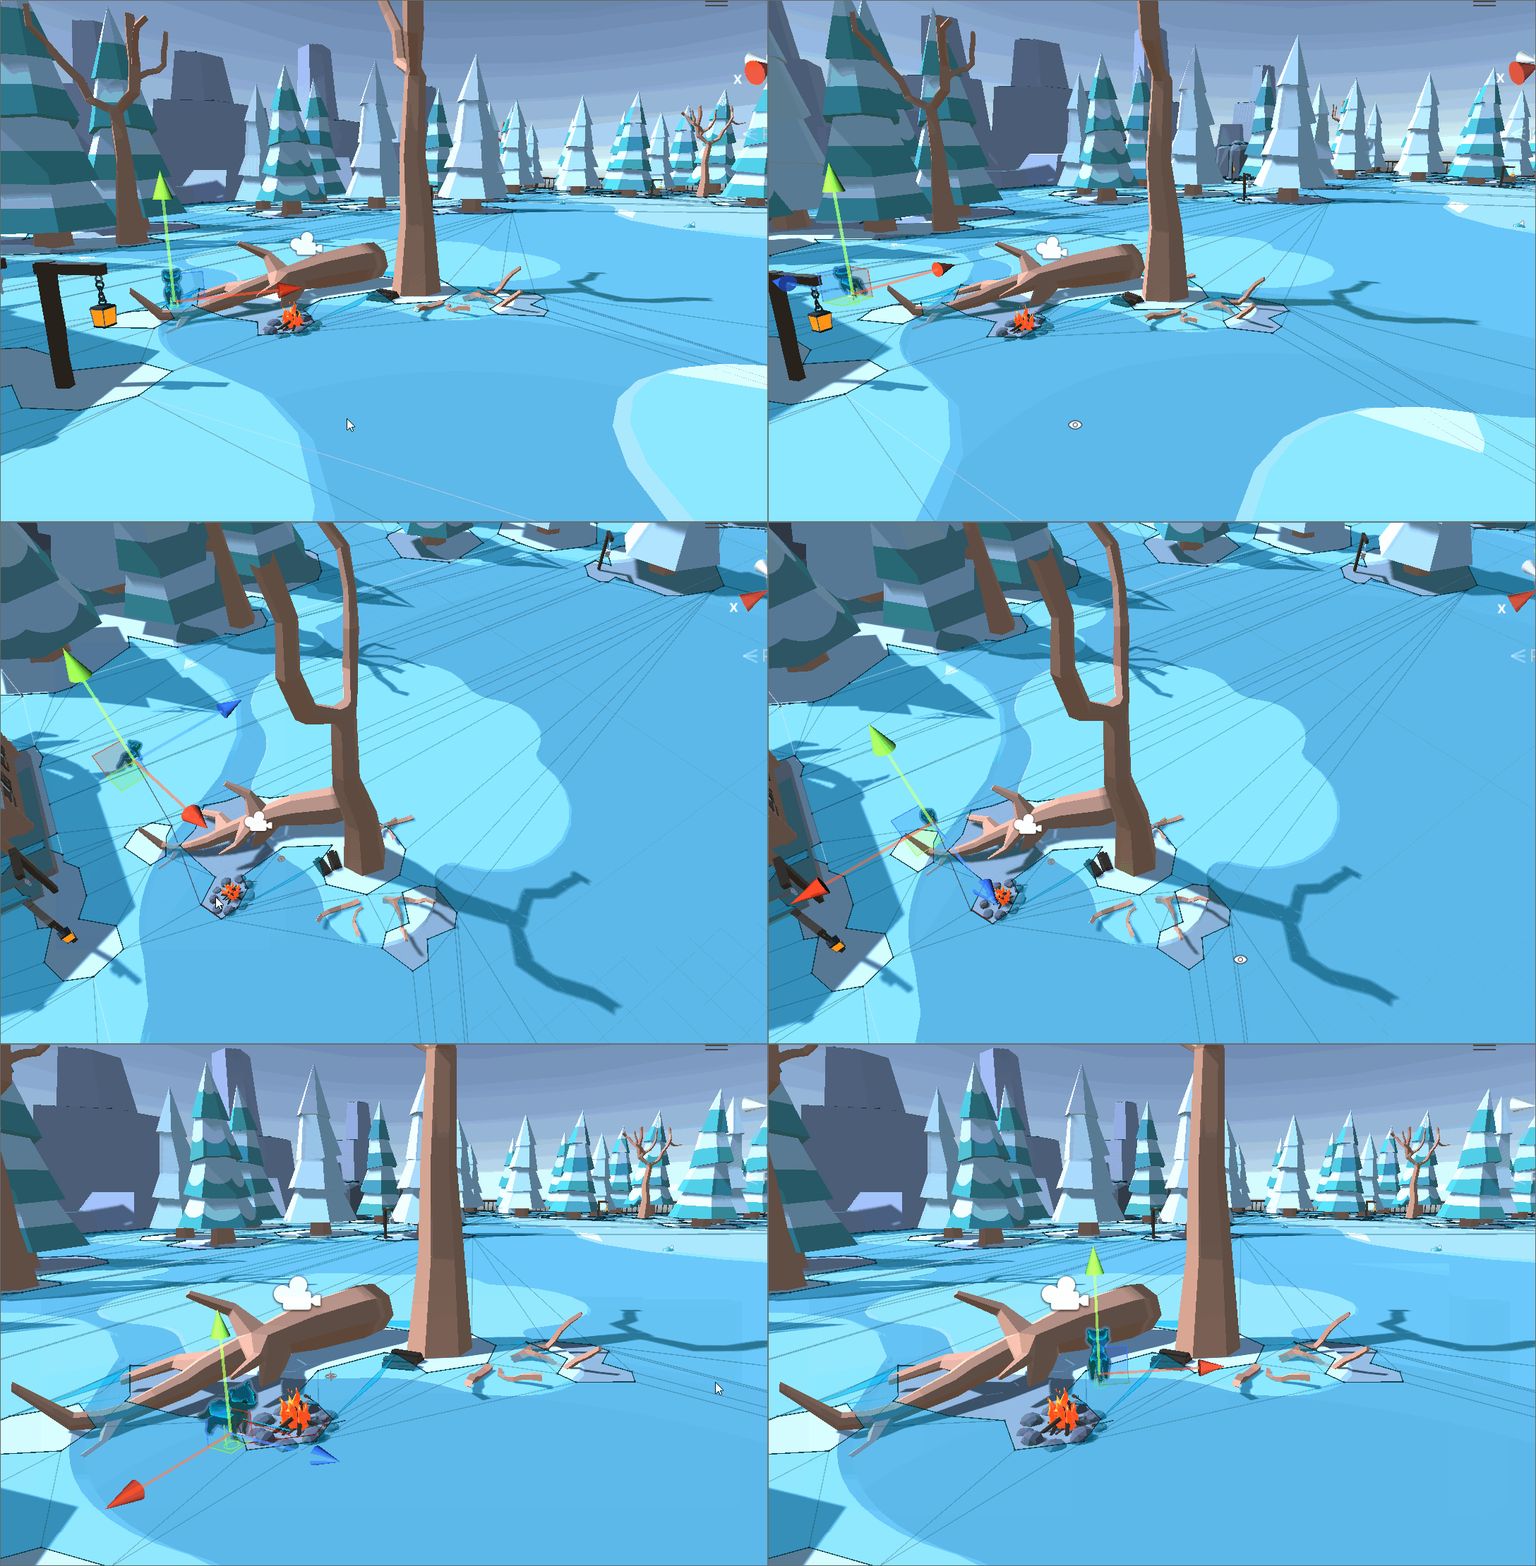
This assignment has two parts. In the first part, you will configure a non-player character. In the second part, you will implement a simple AI character that wanders the level choosing randomly selected destinations.
2.1. NPC
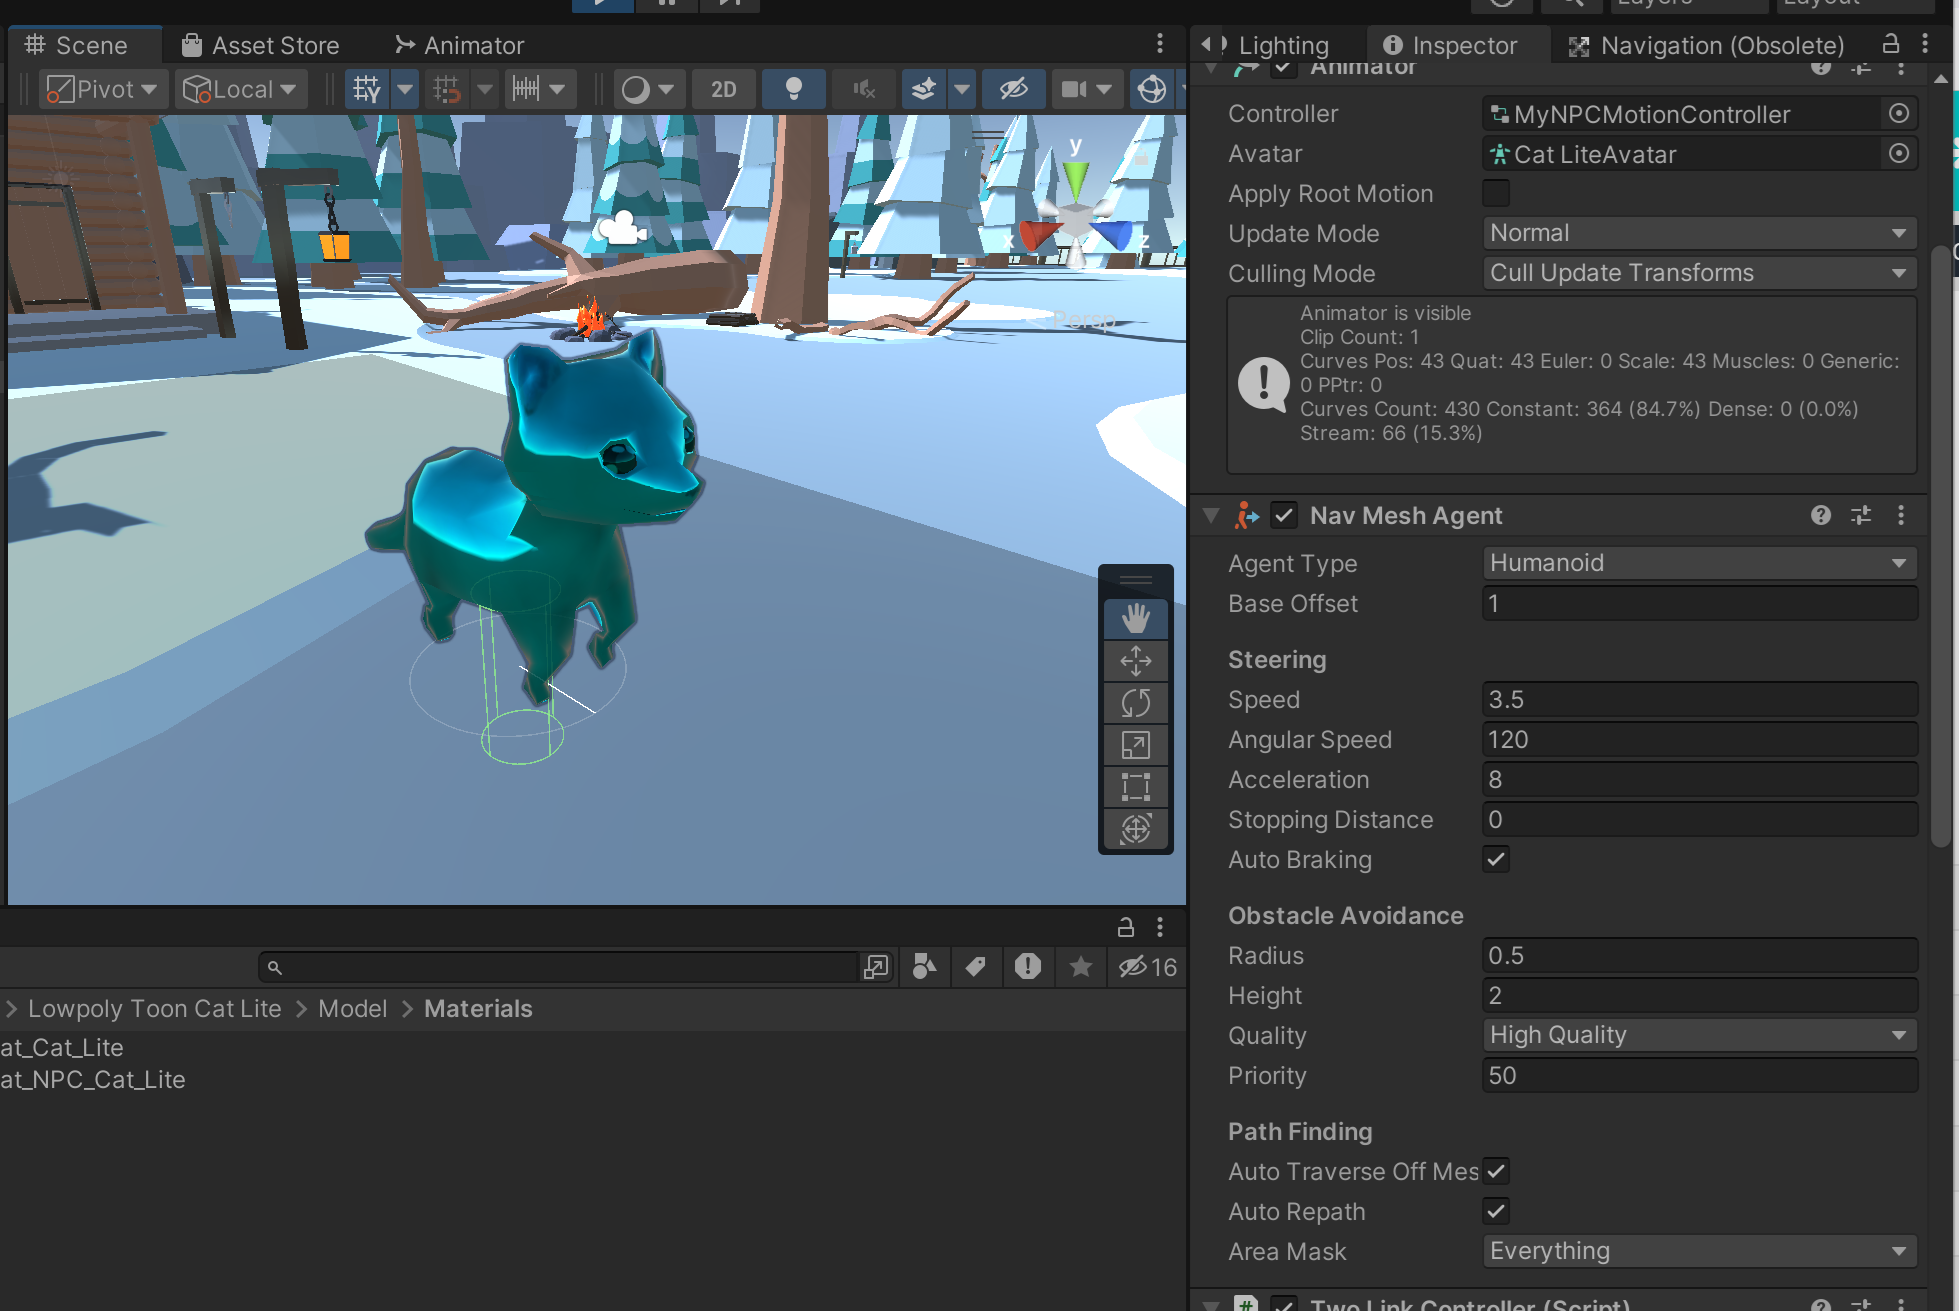
An NPC (Non-player character) is a character controlled by the game, rather than the player. In this demo, I use the same asset as our player, but configure it with a different material and animation so it looks like a ghost.
You can also re-use the player asset (but distinguish its appearance), or use a different asset to represent NPCs.
Add a NavMeshAgent component to your NPC so it can move on its own around the level.


2.2. Wander
Write a script, Scripts/Wander.cs, that is a component for the root of a character.
Wander should use Unity’s built-in navigation features to choose a random position on the
map and then steer the NPC to that target.

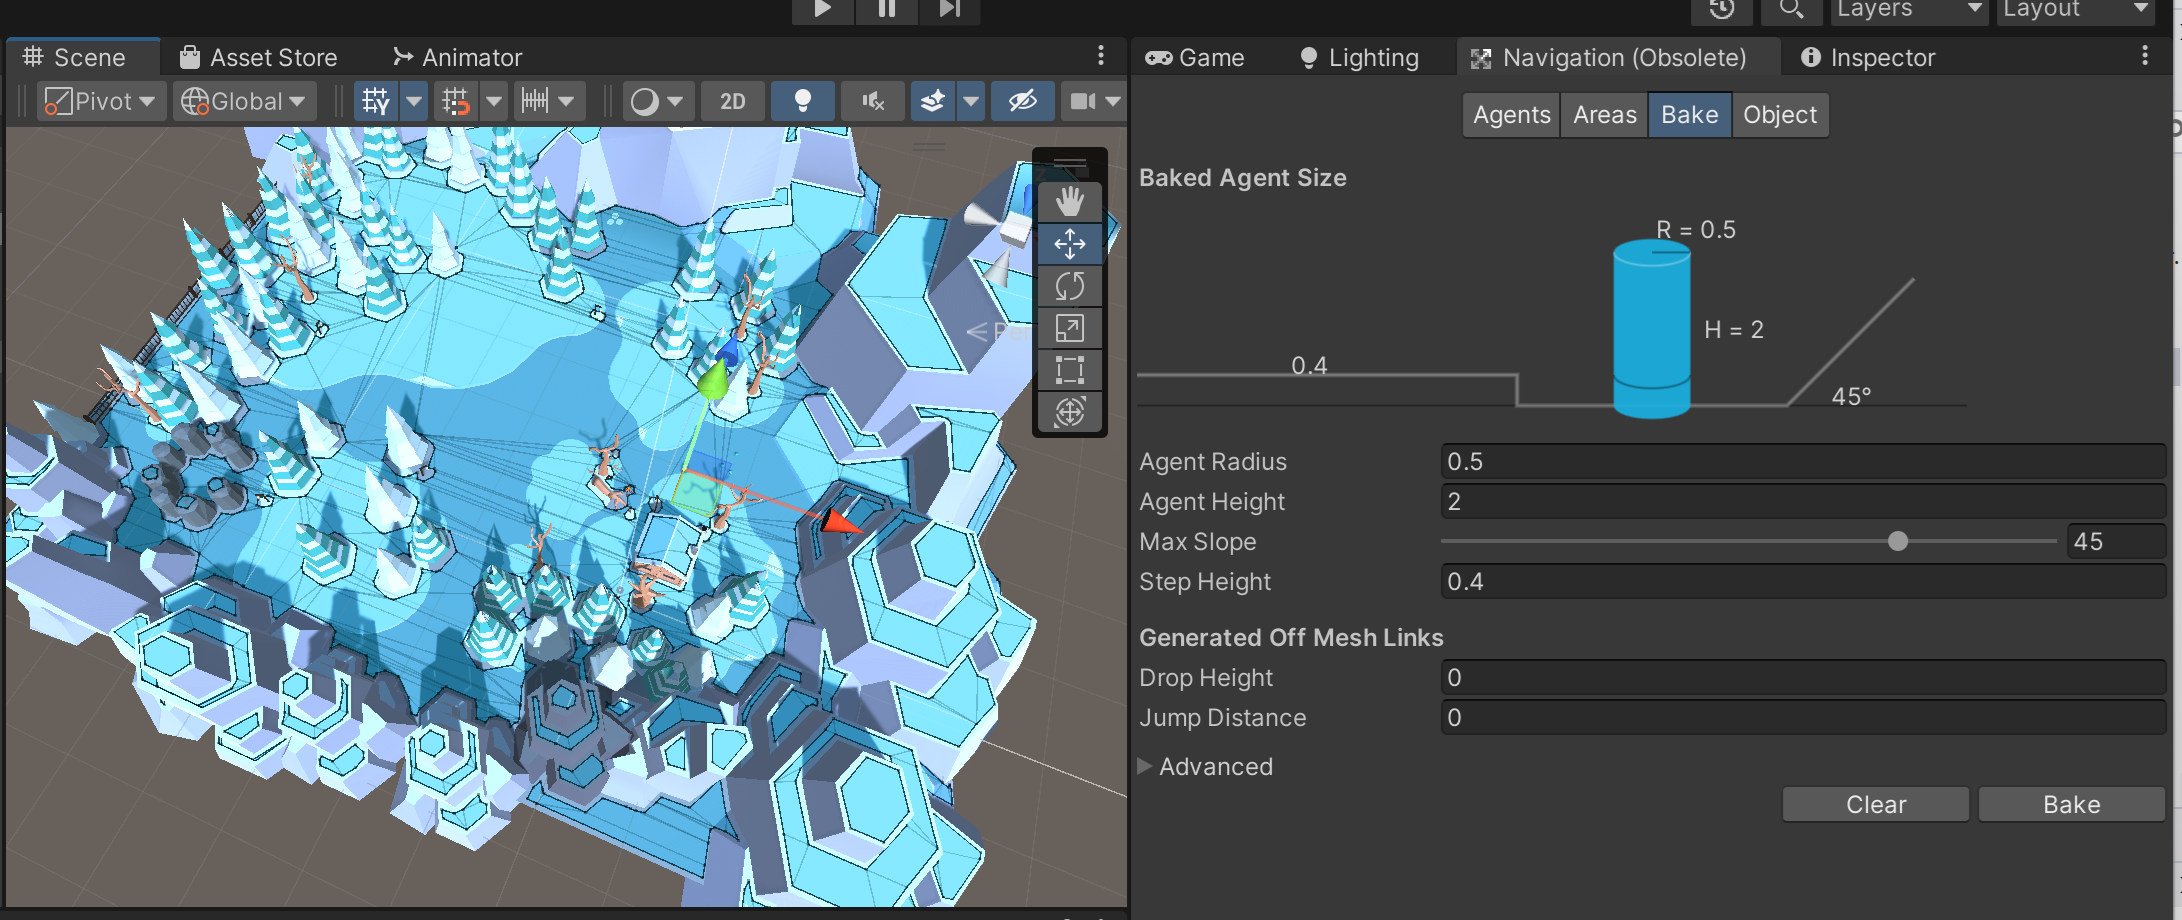
To get started, you will need to build the navigation mesh. To build the mesh, you will need
-
to provide a radius for your agent (e.g. the capsule radius on your CharacterController) and
-
to specify navigable terrain as static geometry. See the documentation here for details
Then you choose bake to compute and save the navigation mesh. Our navigation mesh looks as follows.

Your wander script will need to query the navigation mesh for a random point and then call NavMeshAgent.SetDestination. In Update(), you can use NavMeshAgent.remainingDistance to check whether the agent has reached the target yet. If the agent is close to the destination, they should choose another random point.
3. What to hand in
-
Your scenes with your level, player, and NPC in it
-
Your script,
Scripts/Wander.cs -
Updated README
-
A video or GIF showing the motion controller, intersections with the world, and collection mechanic
-
Credits/links for any assets that you did not make yourself — if you add assets this week.
-
Don’t forget to commit your changes and then push them to Github. Using Git Bash,
run the following command inside your HelloUnity directory.
$ cd HelloUnity
$ git add .
$ git commit -m "Finished HelloUnity"
$ git push
Run git status to check the result of the previous git command.
Check the Github website to make sure that your program uploaded correctly.
Assignment rubrics
Grades are out of 4 points.
-
Your scripts need to be feature complete (3.5 points)
-
Readme (0.5 point)
Submission rubrics
For full credit, your submission must
-
In your README, include videos or gifs showing your working scripts
-
Some credit lost for missing features or bugs, depending on severity of error
-
-100% for failure to commit work to Github
-
-100% for failure to build and run on the lab Windows machines