Assignment 7: Motion and Collision
Due Friday, October 25, before midnight
The goals for this assignment are:
-
Implement a simple motion controller for your character
-
Support collisions and gravity for your character
1. Getting Started
It is not necessary to fetch from the upstream repository this week. Instead,
-
Create a new scene, called
A07_Motion, and save it to yourHelloUnity/Assets/Scenesfolder.
Scene and Player Setup
In your scene:
-
Initialize your scene with the prefab containing your level from assignments 3 and 4
-
Add your character from assignment 4.
| Be sure to remove any animation components from your character. In this assignment, you should create your own. |
2. Assignment Goals
This assignment has two parts. In the first part, you will setup a motion controller with parameters for your character. If your character already has one setup, you should remove it and create a simple controller for this assignment. In the second part, you will setup colliders so that the player does not intersect objects and can collect objects in the scene.
2.1. Motion controller
We will now implement features to animate our player character using Unity’s Mechanim system to create a state machine for transitioning between different animation clips. This feature requires your player asset to contain animation clips. If you are unsure whether your character has animation clips, we can help you. The demo below shows the goal of this feature.
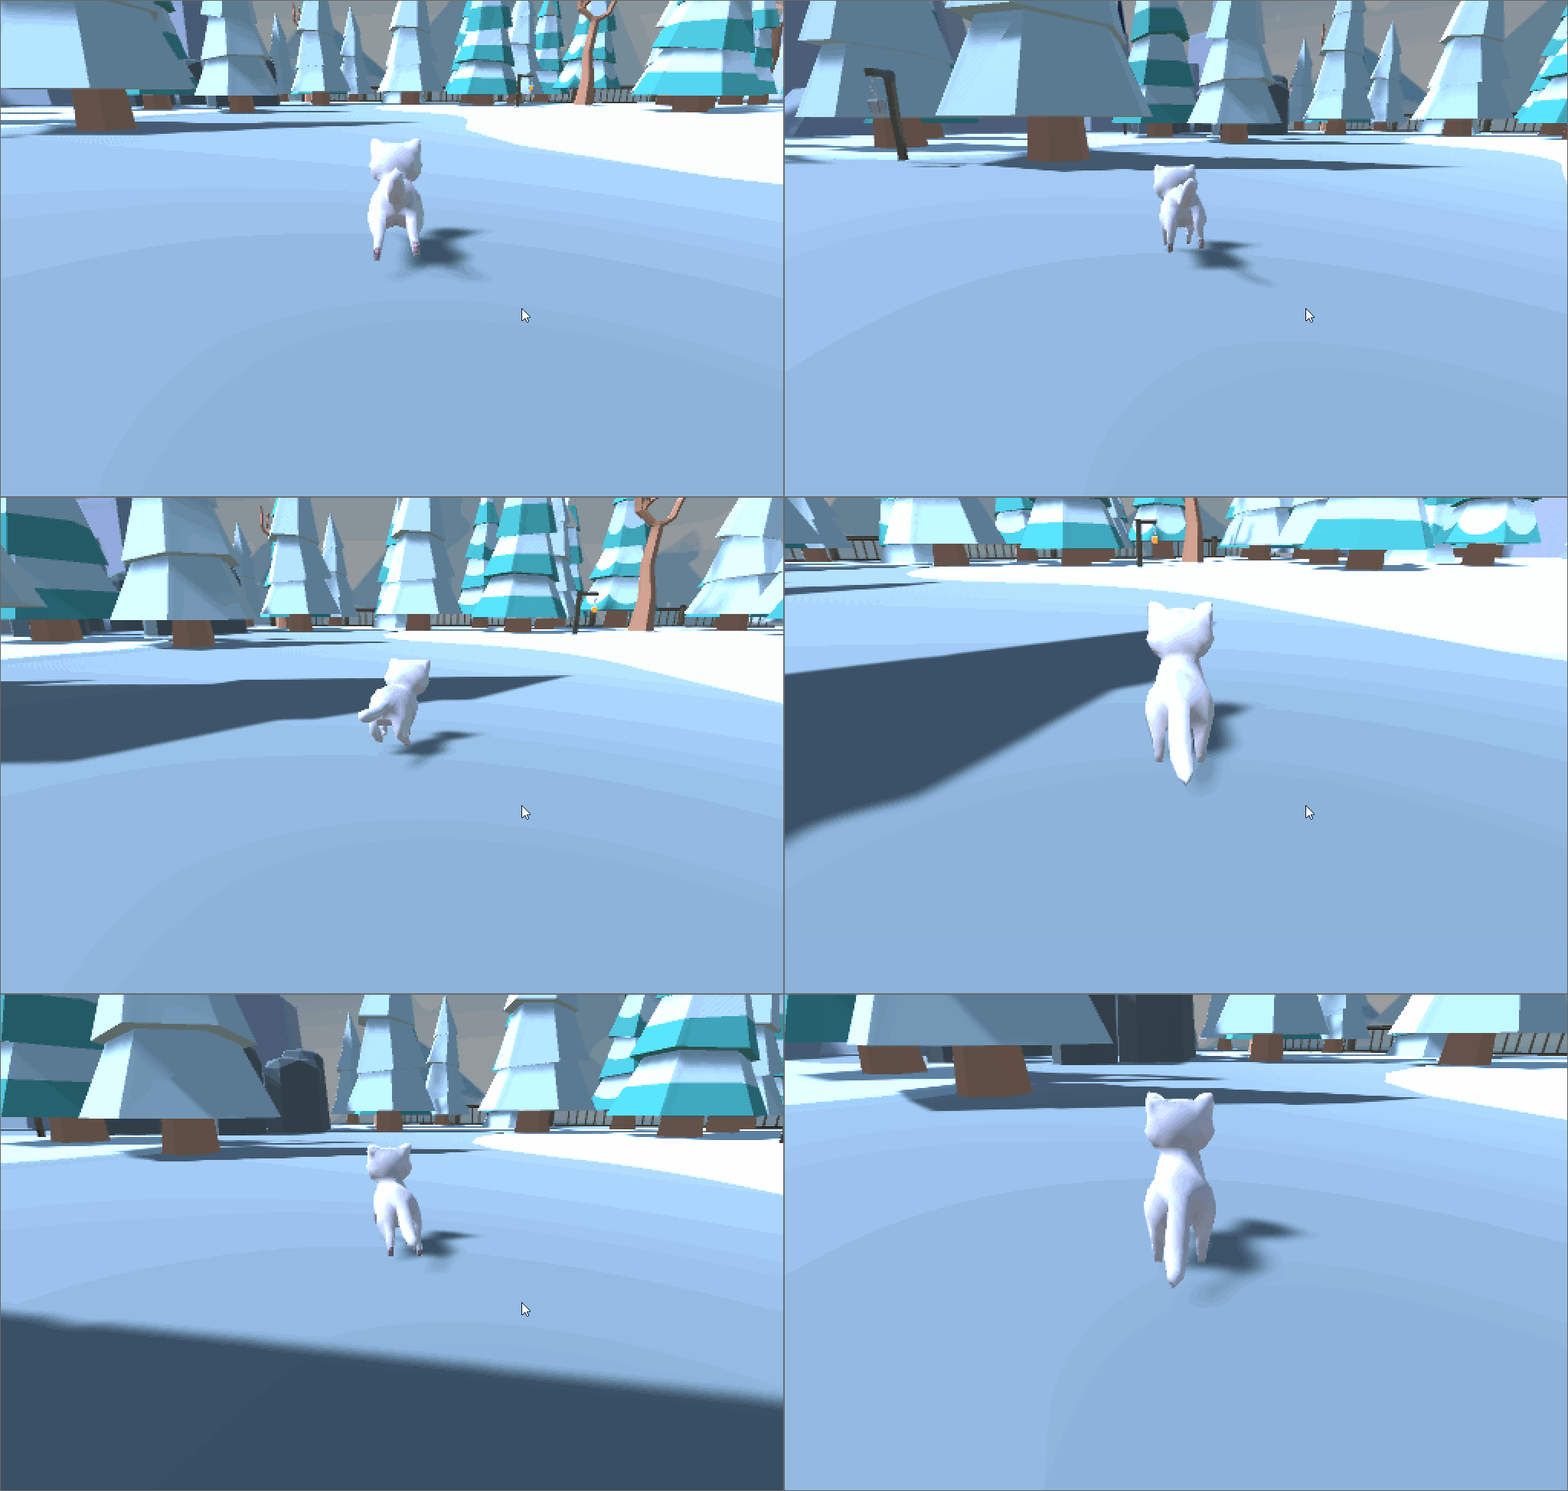
This feature has two parts. First, you must configure your player character with an Animator and
AnimatorComponent. Second, you must write a script, Scripts/PlayerMotionController.cs, that is
a component for the root of your player character and that triggers animation transitions.
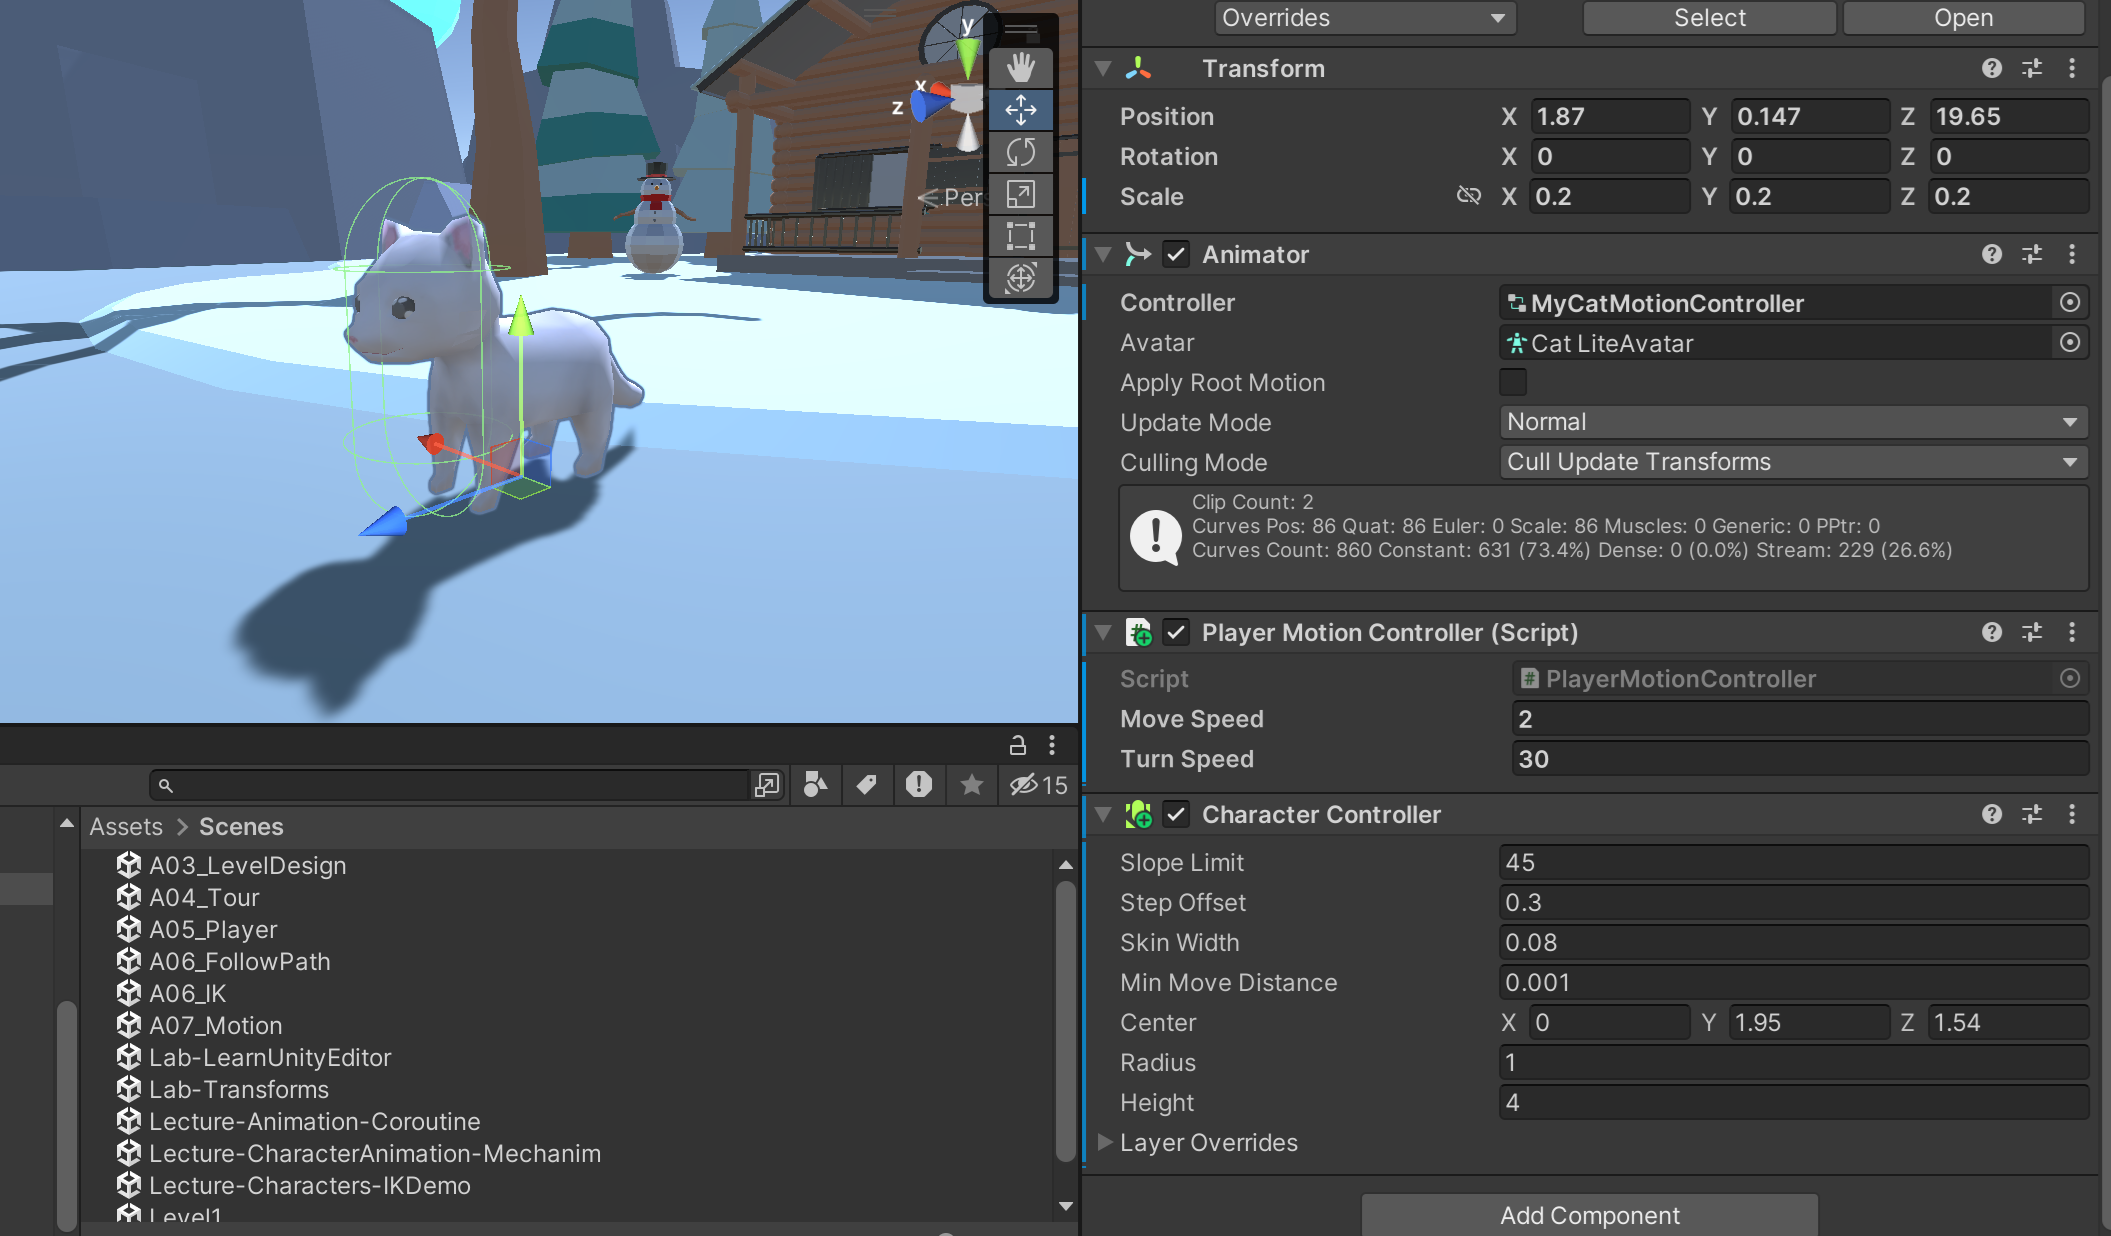
For the first part, you must configure your player character to have animations. The configuration for our cat character is below. For resources on setting up your character, see the advice below.
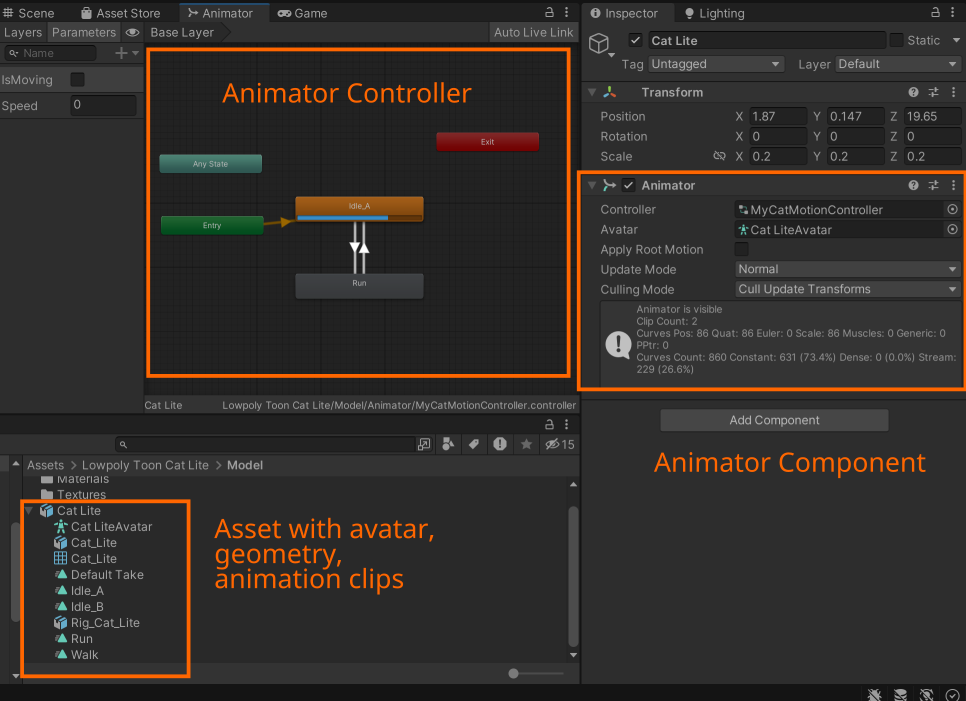
For the second part, use your script, Scripts/PlayerControls.cs, from
assignment 5 as a starting point and add code to change the animation based on
the velocity of the player. When the player is moving, show a walk or run
animation. When the player is stationary, show and idle animation. See the advice below
for Unity API documentation for implementing this feature.
Requirements:
-
Create a motion controller that has at least two states for idling and moving.
-
Create parameters on your motion controller.
-
Do not use a prefab your motion controller. You must make your own.
Animator Setup Advice:
Use the Unity documentation to learn how to setup a motion controller for your character. First, you should look at your character in the asset window and see what animation clips it has on it. You can also configure a humanoid avatar if it is appropriate. Otherwise, choose "create from this model" for the avatar type (under rig). Second, you should add an Animator component and add a new Animator Controller. With the animator controller, you can add animations and setup transitions between them that use parameters. Last, you should add a script that switches between animations.
-
Read the Mechanim documentation
-
Add an Animator
-
Setup the Animator Controller
Resources for implementing PlayerMotionController.cs:
-
Write a script that connects the animator controller to user input.
2.2. Collision Physics
We now have an animated player character. But the character has no physics behaviors: it can passthrough solid objects and doesn’t respond to gravity.
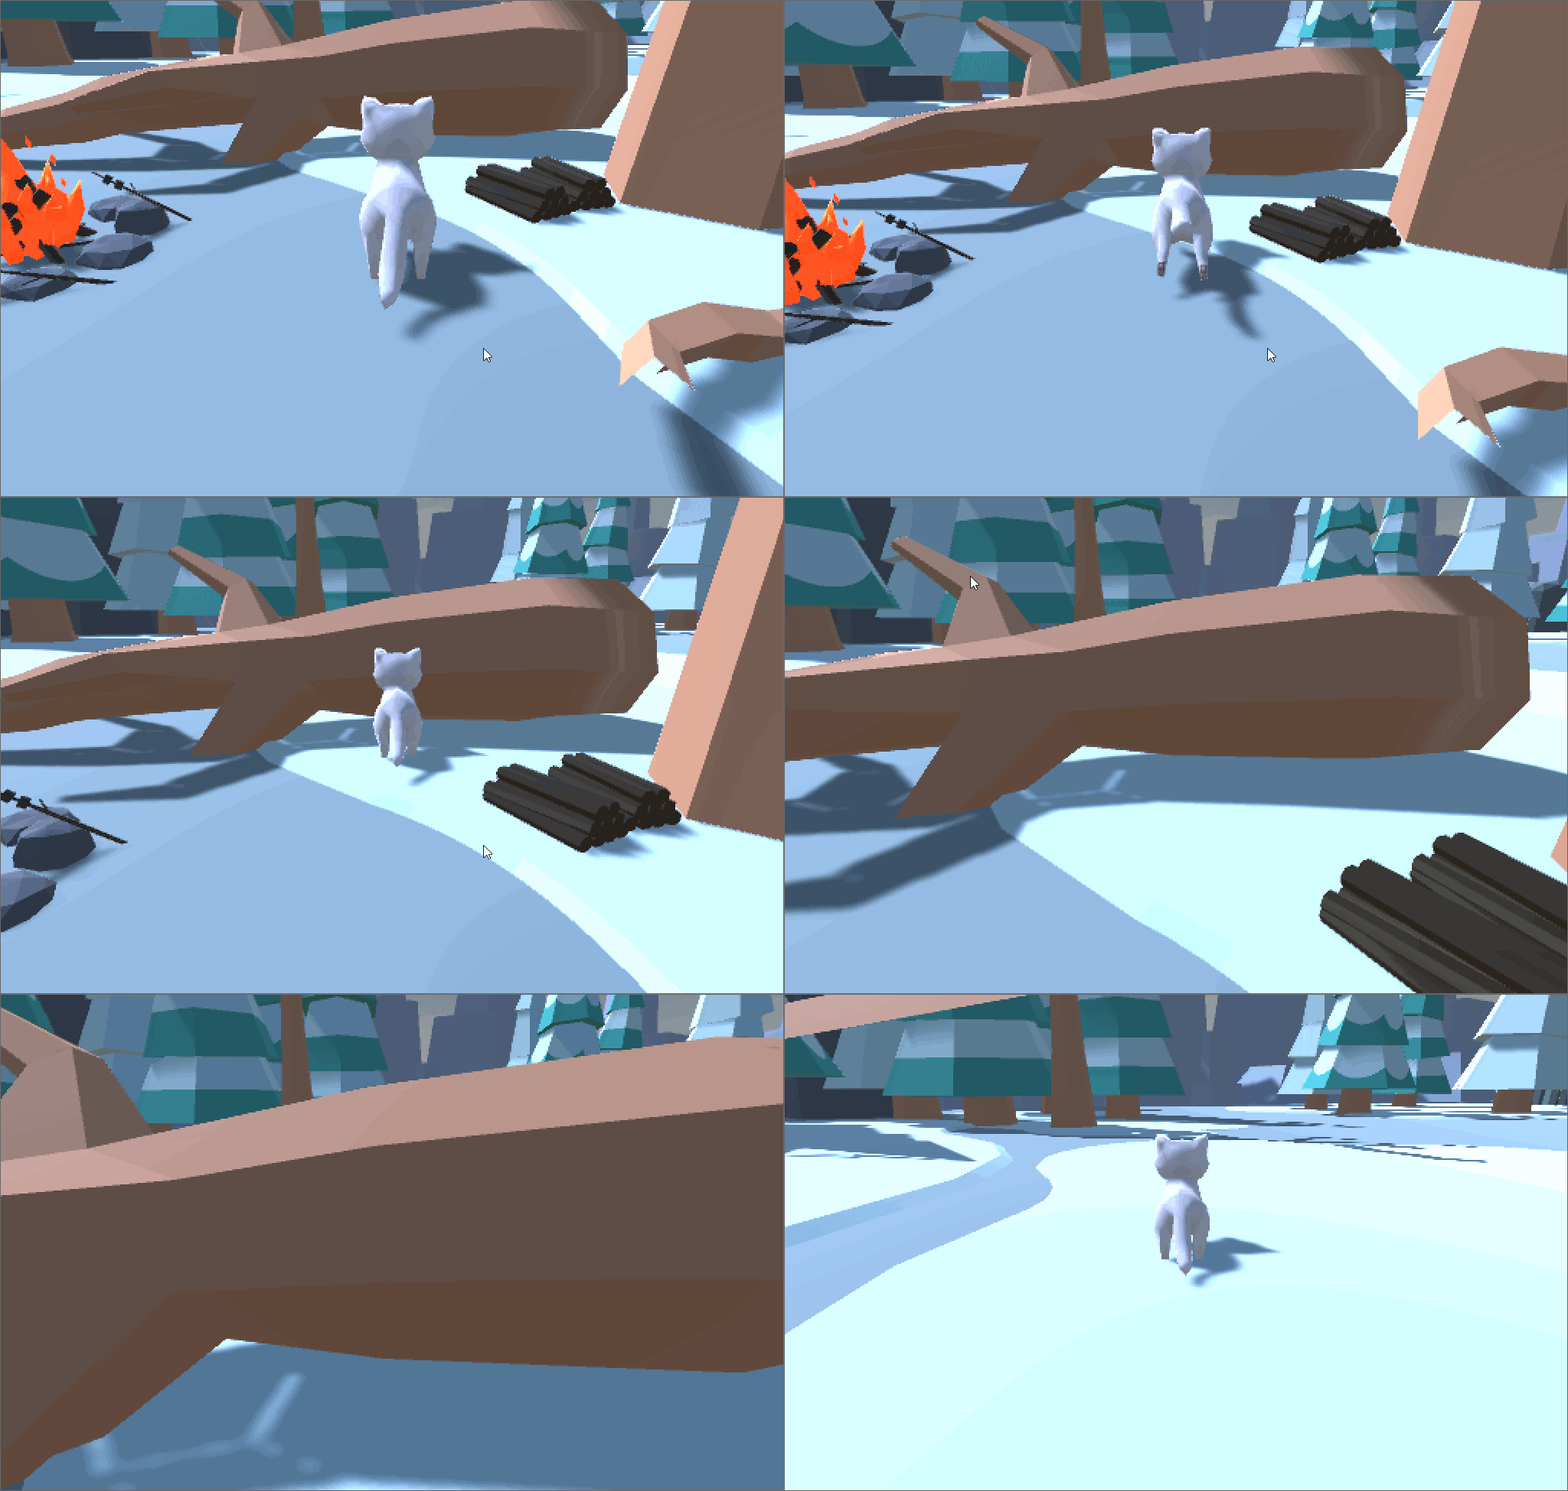
We will use Unity’s CharacterController component to implement these features.
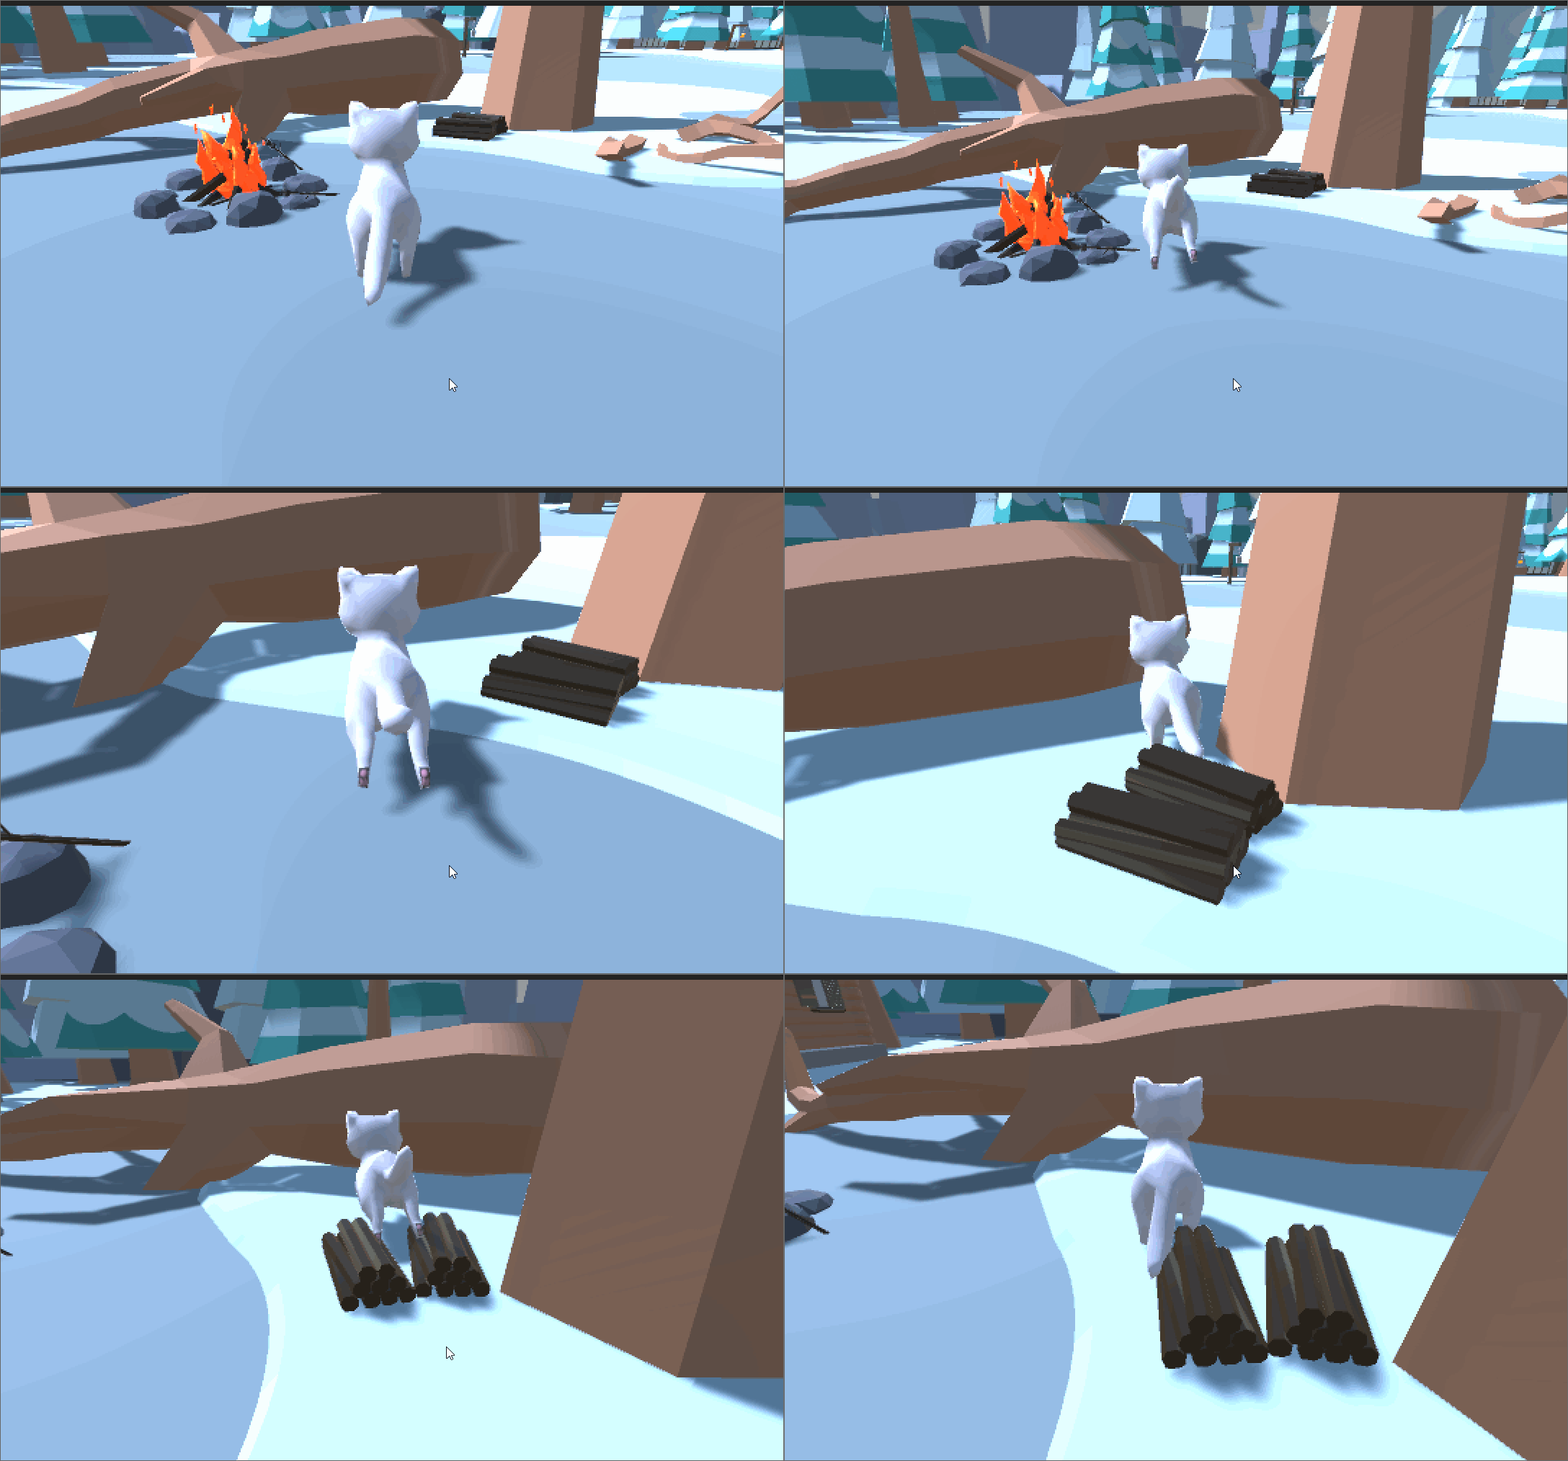
Above, we put a CharacterController component on our player and extended our script,
PlayerMotionController.cs to call Move with the velocity instead of setting the position directly.
//transform.position = transform.position + Time.deltaTime * velocity;
CharacterController controller = GetComponent<CharacterController>();
controller.Move(velocity * Time.deltaTime);
Requirements:
-
Put a character controller on your character
-
Create Colliders on solid objects of your scene (if they do not have colliders on them already)
-
Update
PlayerMotionController.csto move using the character controller, rather than moving the character directly. To start, change the code inPlayerControlswhere you settransform.positionto callMoveon your CharacterController component instead. -
Save your new configured player character as a prefab
-
Save your new configured level as a prefab
-
(Optional) implement a character jump
Advice:
3. What to hand in
-
Your scenes with your level and player in it
-
Your script,
PlayerMotionController.cs -
Updated README
-
A video or GIF showing your animated character, intersections with the world, and jumping if you implemented it
-
Credits/links for any assets that you did not make yourself — if you add assets this week.
-
Don’t forget to commit your changes and then push them to Github. Using Git Bash,
run the following command inside your HelloUnity directory.
$ cd HelloUnity
$ git add .
$ git commit -m "Finished HelloUnity"
$ git push
Run git status to check the result of the previous git command.
Check the Github website to make sure that your program uploaded correctly.
Assignment rubrics
Grades are out of 4 points.
-
Player character with Animator, AnimatorController, and CharacterController components (1.5 points)
-
Working
PlayerMotionController.csscript (1 point) -
Scene setup with colliders (1 point)
-
Readme (0.5 point)
Submission rubrics
For full credit, your submission must
-
In your README, include videos or gifs showing your working scripts
-
Some credit lost for missing features or bugs, depending on severity of error
-
-100% for failure to commit work to Github
-
-100% for failure to build and run on the lab Windows machines