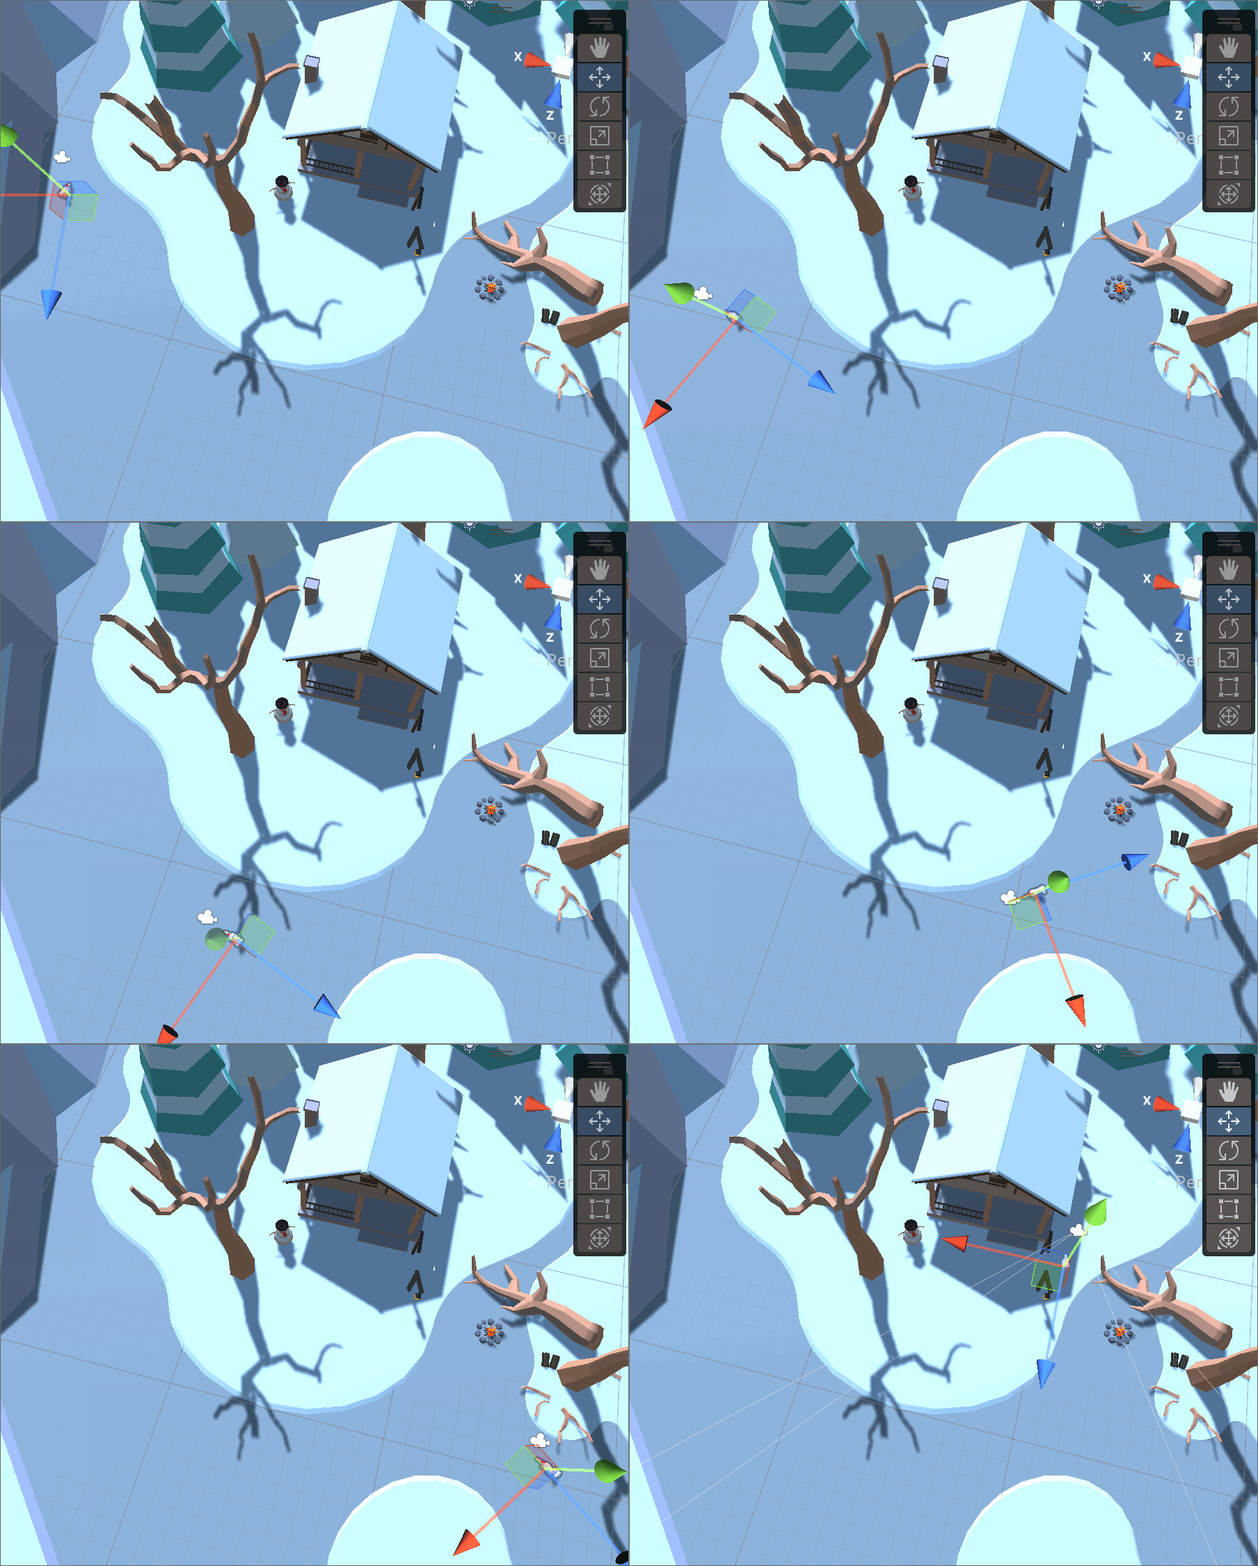
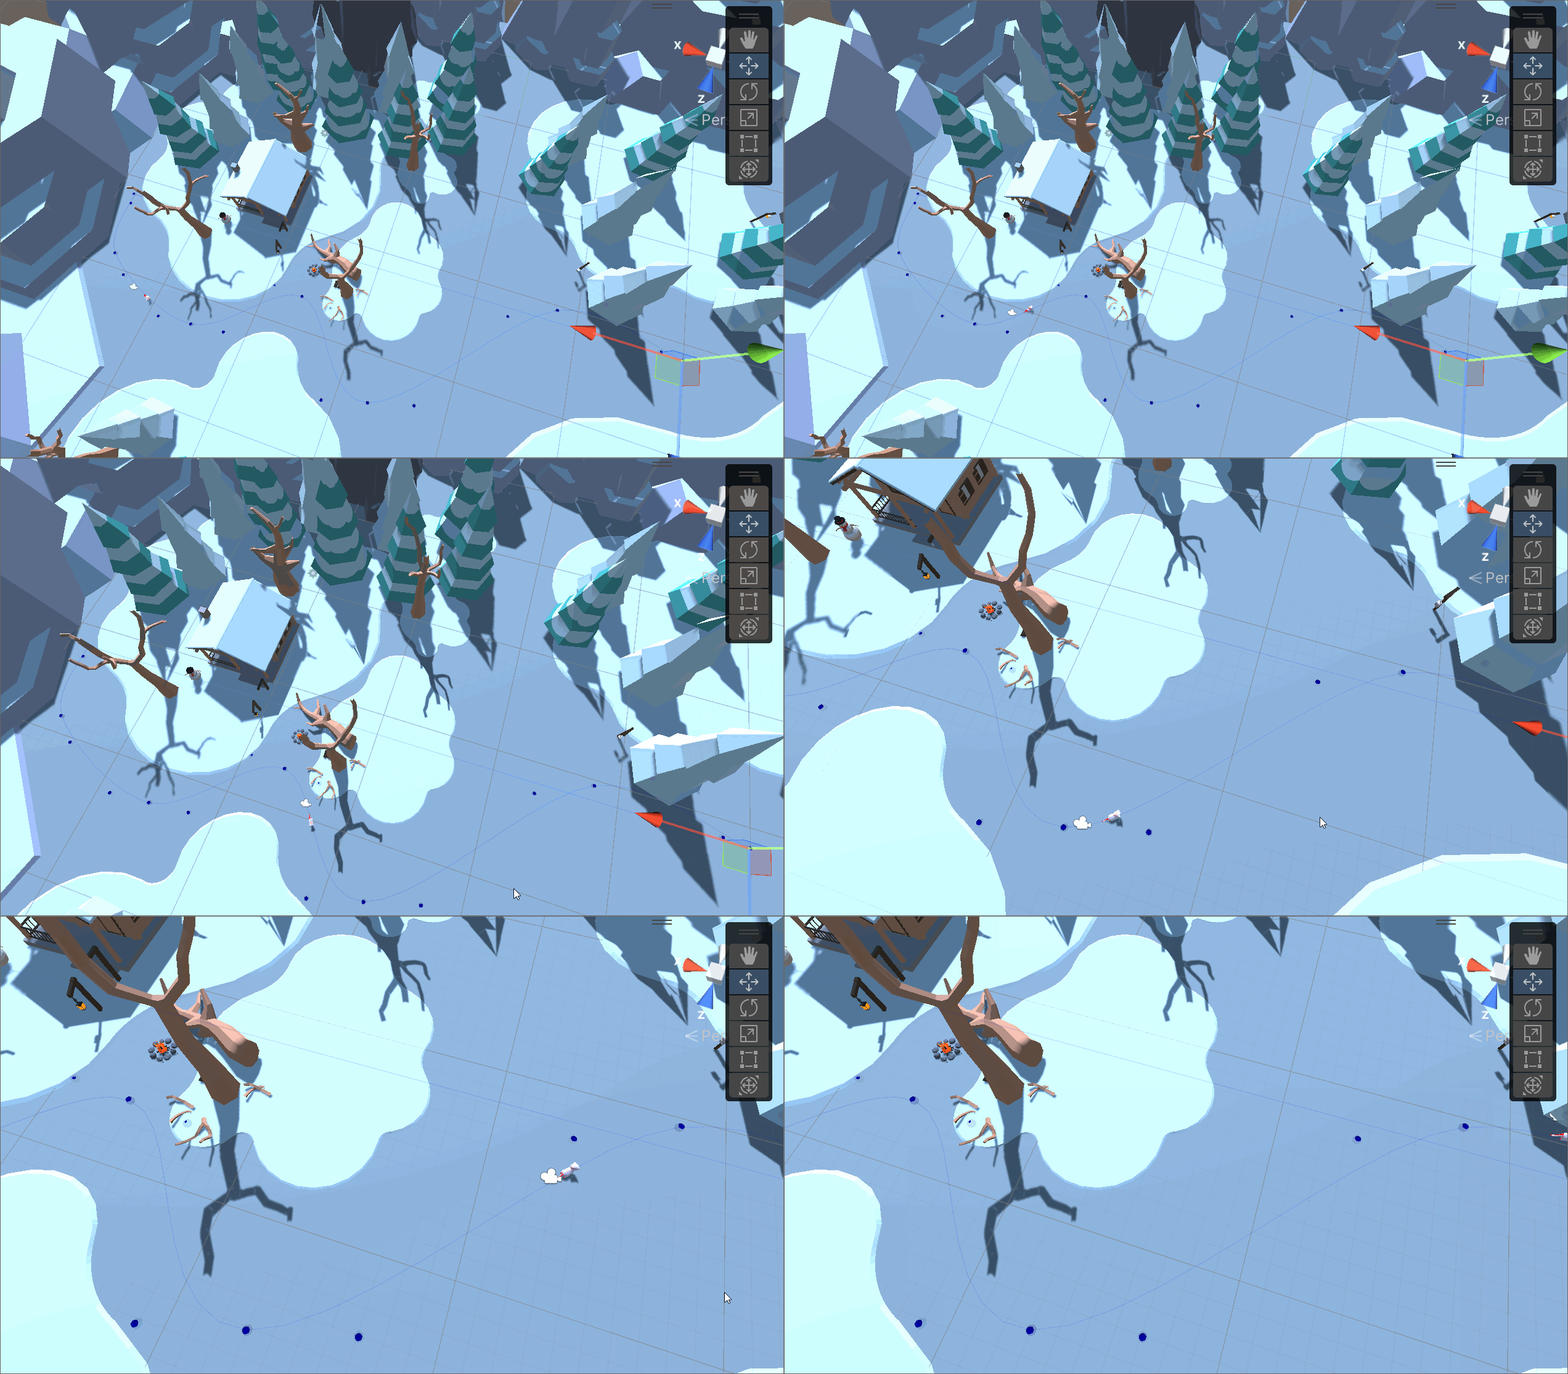
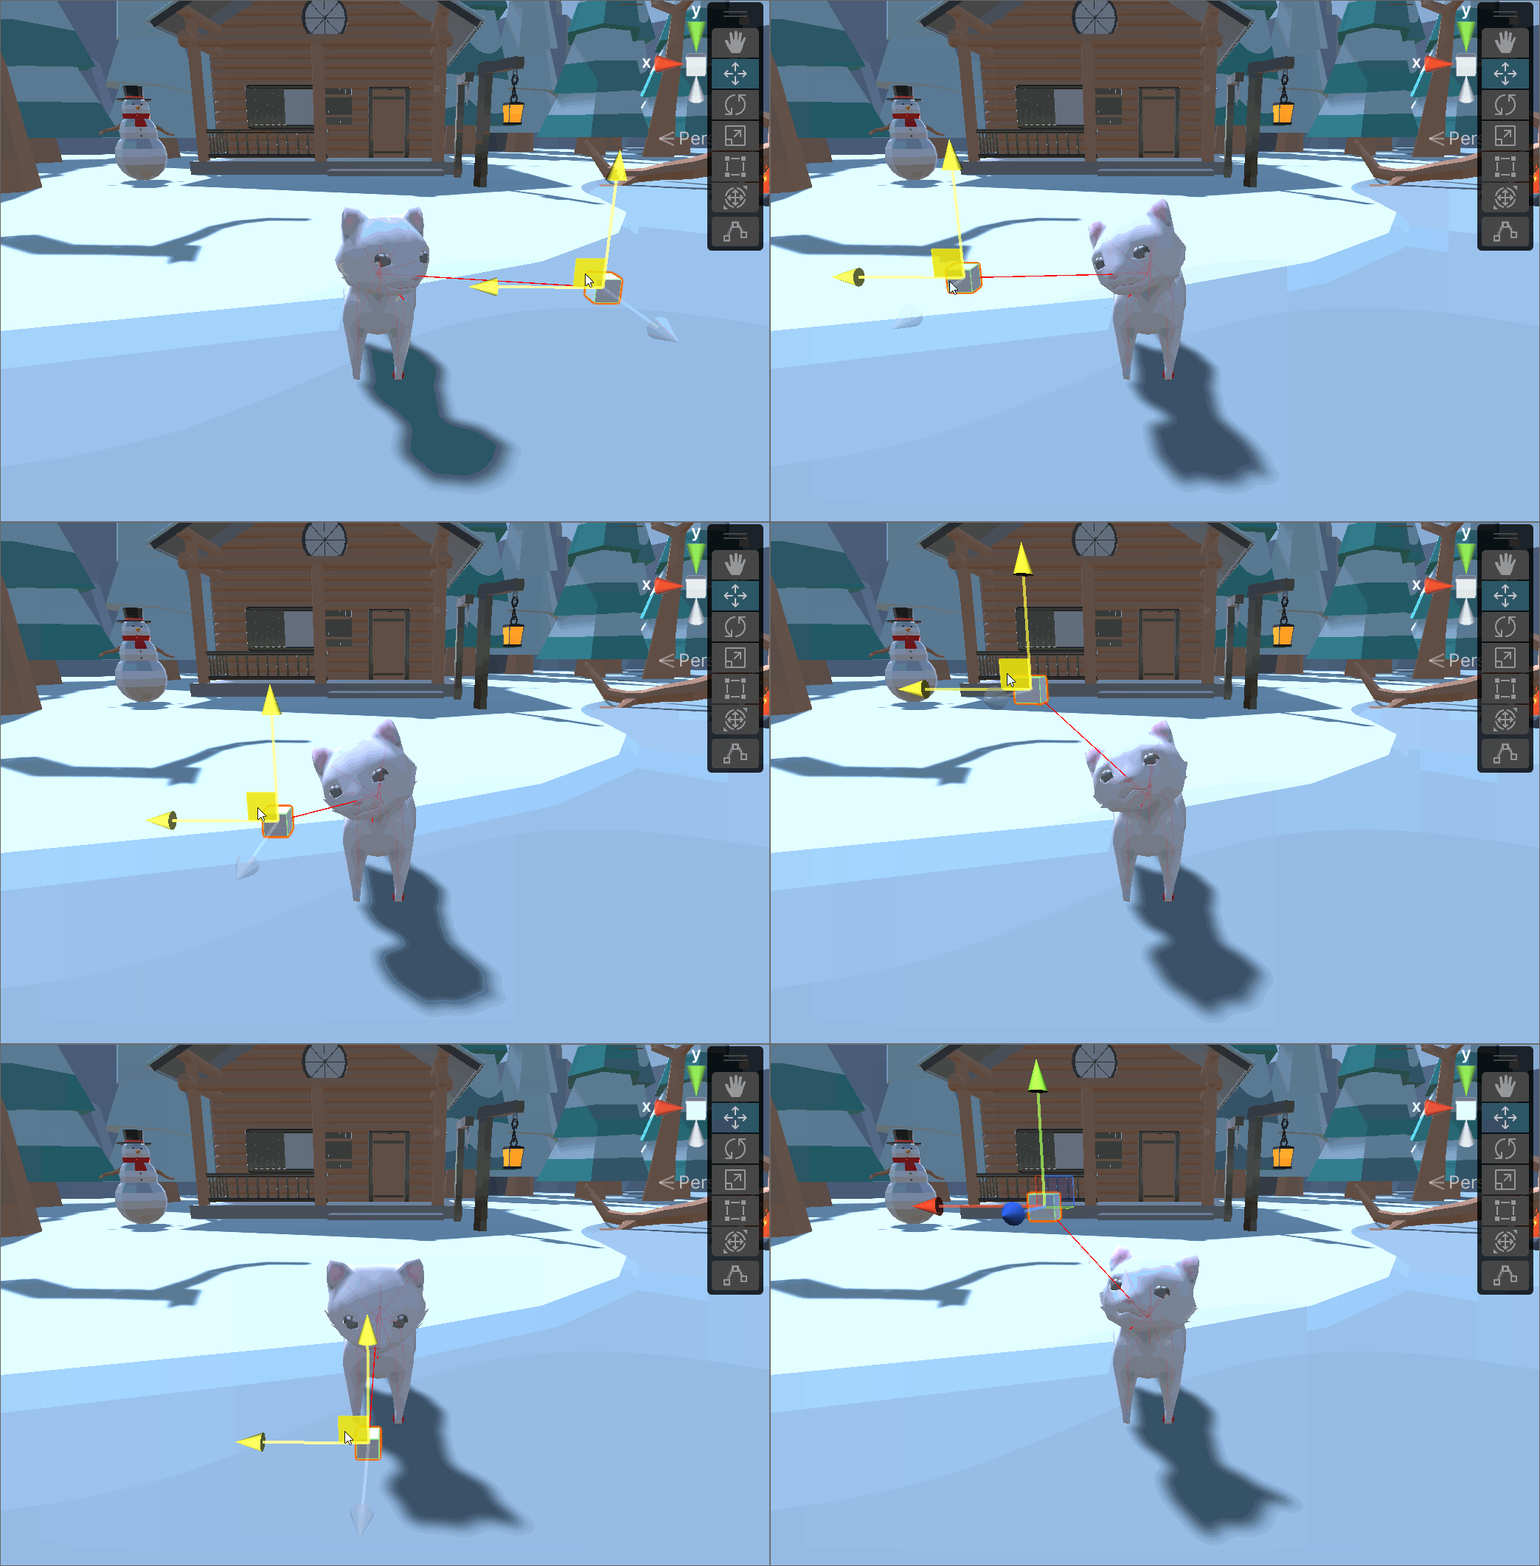
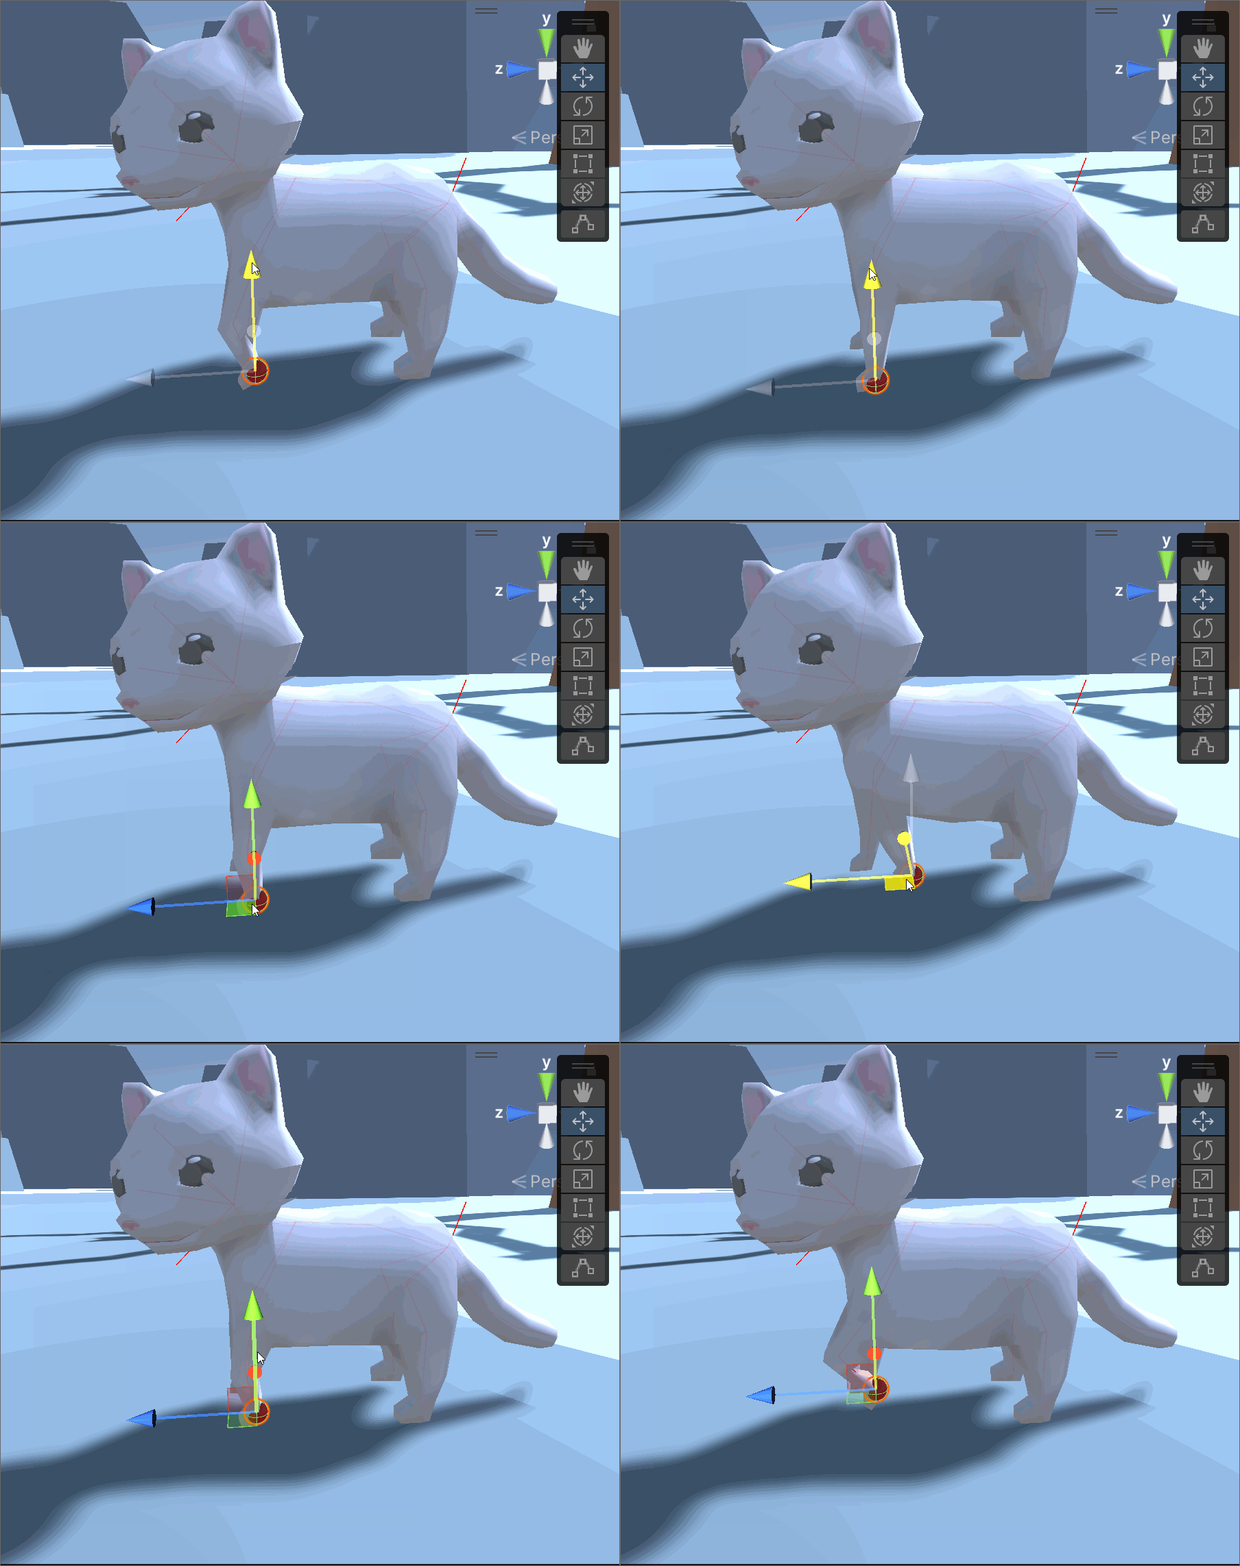
Assignment 6: Bezier Faster Stronger
Due Sunday, October 20, before midnight
The goals for this assignment are:
-
Implement path following based on a Bezier curve
-
Implement gaze and limb controllers for your character
1. Getting Started
It is not necessary to fetch from the upstream repository this week. Instead,
-
Create a new scene, called
A06_FollowPath, and save it to yourHelloUnity/Assets/Scenesfolder. -
Create a new scene, called
A06_IK, and save it to yourHelloUnity/Assets/Scenesfolder.
Scene and Player Setup
In both your scenes:
-
Initialize your scene with the prefab containing your level from assignments 3 and 4
-
Add your character from assignment 4.
| Make sure your character does not have any control or animation scripts on it for this assignment! |
2. Assignment Goals
This assignment has two parts. In the first, you will implement a demo where your character follows a Bezier curve specified with locators (e.g. empty GameObjects) in the scene. In the second, you will implement that allows you to pose your character using IK.
2.1. Path Following
You will write two scripts for this demo. Both scripts will need a list of locations that specify the path. I recommend that you re-use the method for storing POIs from assignment 4.
2.1.1. Spline with degree-1 polynomial
-
Write a script,
Scripts/FollowPathLinear.cs, that is a component for the root of your player character. -
Using a coroutine, make your character follow the path using lerp.
-
The orientation of the character should match the forward direction of the curve.

In class, we covered how to use a coroutine to move between two locations using Lerp.
using System.Collections;
using System.Collections.Generic;
using UnityEngine;

public class LerpCoroutine : MonoBehaviour
{
    public Transform start;
    public Transform end;
    public float duration = 3.0F;
    float timer = 0;

    // Start is called before the first frame update
    void Start()
    {
        StartCoroutine(DoLerp());
    }

    // Update is called once per frame
    void Update()
    {
        if (Input.GetKey(KeyCode.Space))
        {
            StartCoroutine(DoLerp());
        }
    }

    IEnumerator DoLerp()
    {
        for (float timer = 0; timer < duration; timer += Time.deltaTime)
        {
            float u = timer / duration;
            transform.position = Vector3.Lerp(start.position, end.position, u);
            transform.rotation = Quaternion.Slerp(start.rotation, end.rotation, u);
            yield return null;
        }
    }
}
2.1.2. Spline with degree-3 polynomial
-
Write a script,
Scripts/FollowPathCubic.cs, that is a component for the root of your player character. -
Using a coroutine, make your character follow the path using a cubic Bezier curve.
-
The orientation of the character should match the forward direction of the curve.
-
Add an option, 'DeCasteljau', which has a bool type. If true, use De Casteljau’s algorithm to compute the cubic curve. If false, use the polynomial formula.

Unlike with a piecewise linear curve, a cubic Bezier curve needs 4 control points, where two points, b0 and b3, are the endpoints of the curve segment, and two points, b1 and b2, control the shape of the curve.
In class, we also talked about how we can make the curve smooth between segments if we position b1 and b2 so the slopes match. Use the following formulas to set the control points b0, b1, b2, and b3, where \$p_{i-1}, p_{i}\$ are the endpoints of the curve segment.
\$b_1 = b_0 + (1/6) * (p_{i} - p_{i-2})\$
\$b_2 = b_3 - (1/6) * (p_{i+1}- p_{i-1})\$
\$b_3 = p_{i}\$
If you are computing b1 for the first segment, use the following formula
If you are computing b2 for the last segment, use the following formula
You might find it useful to visualize the Bezier curve. To do this, you can sample the points along the curve and then draw it as a Unity Gizmo.
void OnDrawGizmos()
{
    Gizmos.color = Color.blue;
    Gizmos.DrawLineStrip(curve, false);

    foreach (Vector3 p in ctrlpts)
    {
        Gizmos.DrawSphere(p, 0.2f);
    }

}
2.2. IK Controllers
We will implement two controllers, one for the head (or eyes, antenna, of whatever makes sense for your character) and one for a two-link limb.
2.2.1. Gaze Controller
The gaze controller will track a target with your character’s head (or eyes or antenna, depending on your character). The gaze controller will use our relative rotation formulation based on tangent to update the orientation of the head. Recall that the angle of rotation is as follows.
And the axis of rotation is \$(r \times e)/||r \times e||\$
Requirements
-
Write a script,
Scripts/GazeController.cs, that is a component for the root of your player character. -
Your script should take a Transform parameter to serve as your target
-
Your script should take a Transform parameter that indicates the joint of your character that should point towards the target. In the example below, the nose joint points towards the target from the head.
-
In Update(), implement the calculation that points the head to the target
-
Use Debug.DrawLine to visualize the line between the head joint and the target

Tips for computing the rotation
-
Use global coordinates to compute the rotation axis and angle. Use Quaternion.AngleAxis to compute the final rotation.
-
The computed rotation should be set on the parent joint. For example, if I want to point the nose towards the target, I must set the rotation on the head (which is the parent joint of the nose)
-
The computed rotation is a relative rotation, so you should multiply it to the current rotation, e.g.,
lookJoint.parent.rotation = computedRot * lookJoint.parent.rotation
2.2.2. Two-Link Controller
The two-link controller will track a target using the two-link IK formulation from class.
-
Write a script,
Scripts/TwoLinkController.cs, that is a component for the root of your player character. -
Your script should take a Transform parameter to serve as your target
-
Your script should take a Transform parameter that indicates the end effector of your character
-
The end effector’s parent will be the middle hinge joint (like the "elbow" from class)
-
The end effector’s grandparent will be the ball joint (like the "shoulder" from class)
-
-
In Update(), implement the calculation that places the end effector on the target
-
Use Debug.DrawLine to visualize the bend axis
-
Calculate the distance between the grandparent and end effector and check if it matches the distance between the grandparent joint and the target.

3. What to hand in
-
Your scenes with your level and player in it
-
Your scripts,
FollowPathLinear.cs,FollowPathCubic.cs,GazeController.cs, andTwoLinkController.cs -
Updated README
-
A video or GIF showing the two types of path following and the IK controls
-
Credits/links for any assets that you did not make yourself — if you add assets this week.
-
Don’t forget to commit your changes and then push them to Github. Using Git Bash,
run the following command inside your HelloUnity directory.
$ cd HelloUnity
$ git add .
$ git commit -m "Finished HelloUnity"
$ git push
Run git status to check the result of the previous git command.
Check the Github website to make sure that your program uploaded correctly.
Assignment rubrics
Grades are out of 4 points.
-
Your scripts need to be feature complete (3.5 points)
-
FollowPathLinear (0.5 points) and FollowPathCubic (1 point)
-
must use coroutines
-
must have the character face the direction of movement
-
FollowPathLinear must use linear interpolation
-
FollowPathCubic must use cubic interpolation and support the DeCasteljau parameter
-
-
GazeController should use the relative rotation formula from class (1 point)
-
Should support Transform arguments (head and target)
-
Should include debug lines
-
-
TwoLinkController should implement the algorithm from class (1 points)
-
Should support Transform arguments (end effector and target) and bend axis
-
Should include debug lines and debug text
-
-
-
Readme (0.5 point)
Submission rubrics
For full credit, your submission must
-
In your README, include videos or gifs showing your working scripts
-
Some credit lost for missing features or bugs, depending on severity of error
-
-100% for failure to commit work to Github
-
-100% for failure to build and run on the lab Windows machines